A fixture that produces more lumens will not fix dark rack faces, harsh glare or uneven factory floors if its beam, spacing and mounting height are wrong. By the end, you will be able to connect the task in each zone with a suitable lux target, optical distribution, fixture quantity and environmental specification.
Key takeaways
- Choose optics and mounting height before comparing fixture wattage.
- Match beam distribution and colour quality to each work zone.
- Calculate fixture spacing from maintained illuminance, not initial brightness.
- Commission the complete system for glare, flicker and uniformity.
Why Mounting Height and Optics Matter More Than Wattage
Above 20 feet (6 metres), a high bay does not improve visibility simply by consuming more watts: its optics determine where the light lands. The high bay mounting height sets the distance to the floor, while the beam angle controls how widely the light spreads before reaching the work plane.
A narrow beam concentrates intensity over a smaller area, helping maintain useful lumens at floor level when fixtures are mounted high or spaced far apart. A wide beam covers more floor area, but its light is diluted across that area and can leave the centre dim if spacing is excessive.
Increasing wattage will not correct either problem.
Light distribution must match the room and fixture position. An aisle distribution directs light along the aisle and toward rack faces when the luminaire is correctly oriented. An open-area distribution spreads light across a broad floor and supports more even spacing. The same lumen-rated fitting can therefore produce very different illuminance results.
Check vertical illumination as well as horizontal floor illumination. Shelves, labels, machine interiors and work surfaces can remain dark even when the floor meets its target.
At high mounting heights, a tight, intense beam can also create glare for forklift operators and workers looking upward, so shielding and beam selection belong in the design review alongside lux readings. Reflective ceilings, walls and floor surfaces further affect the light that reaches the task.
Match Beam Distribution and Light Quality to Each Work Zone
A narrow-beam high bay suits tall storage aisles because it concentrates light along the travel path and improves vertical illumination on rack faces. Aim aisle optics down the aisle, not across it; incorrect orientation leaves labels dark and creates glare for forklift operators.
| Work zone | Beam pattern and practical illuminance | Light-quality characteristics |
|---|---|---|
| Storage aisles | Narrow beam; 100–200 lux on the floor, with strong vertical light on rack faces | CRI 80 or higher, controlled glare, low flicker |
| Production lines | Medium or wide beam; 300–500 lux at the work plane | CRI 80+, stable colour, low flicker for moving machinery |
| Inspection benches | Controlled medium beam; 750–1,000 lux on the inspection surface | CRI 90+, strong red rendering, minimal shadow and glare |
| Loading areas | Wide-beam high bay; 150–300 lux across doors, staging and vehicle interfaces | CRI 80+, good uniformity and glare control |
| Pedestrian routes | Wide, overlapping beam; 50–100 lux on walking surfaces | Comfortable brightness, consistent colour and no harsh hot spots |
These are starting points; the task, surface reflectance and local lighting standard determine the final target. The lux levels for warehouses and factories must cover both horizontal floors and vertical labels, controls and equipment faces.
Do not raise lumens to correct a mismatched beam. The same output can produce poor illumination when spacing, mounting orientation or beam width sends light beyond the work zone. Check uniformity and glare as well as average lux.
Calculate Fixture Quantity, Spacing and Maintained Illuminance
Design fixture quantity from maintained illuminance and uniformity, not wattage or initial lumen output. Start with the work-plane target in lux, room dimensions, mounting height, reflectance and operating environment. Use an LM-63 photometric file in lighting software to model the luminaire’s candela distribution, beam spread and light reaching the floor.
| Design input | What it tells you | Why it matters |
|---|---|---|
| Maintained illuminance | Lux available after losses | Prevents an initially bright floor from becoming too dim |
| Lumen depreciation | Output retained over service life | Sets the replacement or maintenance interval |
| Fixture spacing | Distance between luminaires | Controls dark patches and uniformity |
| Mounting height calculation | Height from luminaire to work plane | Changes beam coverage and required optic |
| Room reflectance and dirt factor | Light returned or absorbed by surfaces | Adjusts the calculated delivered light |
Use the calculation N = E × A ÷ (F × CU × LLF) as a preliminary estimate, where E is target lux, A is area, F is lumens per fixture, CU is coefficient of utilisation and LLF is the combined light-loss factor.
Confirm the result with a point-by-point model; the average can pass while aisle ends or machine benches remain dark.
Then test several layouts by changing row spacing, fixture spacing and mounting position. A narrow beam can increase floor lux directly below a fitting but create harsh contrast between fittings. Select the arrangement that meets both maintained lux and the specified uniformity ratio. Oversizing wattage does not correct poor geometry.
Check Glare, Flicker, Colour and Environmental Suitability
Ask for test data for the complete luminaire, not just the LED package. Confirm glare control through shielding, optical design and the intended viewing direction; exposed high-output LEDs can cause discomfort and obscure forklift operators’ sightlines.
Check these points before approval:
- Request temporal light modulation data for the luminaire with its actual driver, dimmer and controls. A high-bay LED is not automatically flicker-free.
- Specify CRI and CCT together with the colours that workers must identify. Saturated-red rendering can matter for warning labels, wiring and inspection more than a high general CRI alone.
- Verify the rated ambient-temperature range and thermal path. Heat trapped above a ceiling or inside an unventilated enclosure accelerates driver failure and lumen depreciation; cold-rated equipment performs better in chilled spaces.
- Match the enclosure and materials to the exposure. Dusty rooms need sealed construction; humid or corrosive areas need compatible coatings, stainless hardware and protected connectors.
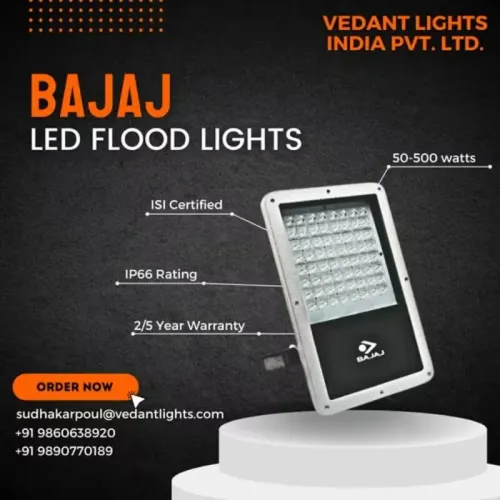
- Treat IP66 rating limitations seriously: IP66 resists dust and powerful water jets, but it does not prove resistance to hot-water washdown, chemicals, condensation, immersion or corrosion.
- Check gaskets, cable glands and drain arrangements after installation. A damaged seal turns a suitable enclosure into an ingress point.
- Do not count a normal high bay as emergency lighting. Egress requires a listed emergency luminaire or control system, compliant backup power, testing and a life-safety layout.
Record these checks in the submittal and commissioning documents. A fitting that looks bright in a showroom can still produce glare, flicker or an early failure on the factory floor.
Specify, Compare and Commission the Complete Lighting System
Before handing the installation to the operator, verify the complete system—not only the LED fixture wattage. Compare the old installation’s ballast losses, lumen depreciation and light distribution with the replacement’s maintained output, controls and rated ambient temperature.
| Option | Verify | Common mistake |
|---|---|---|
| LED versus metal-halide high bay | Compare maintained lumens, optics, warm-up time, ballast load and relamping access | Matching old watts to new watts |
| Fluorescent high bay replacement | Check cold-start performance, driver compatibility, mounting points and aisle coverage | Assuming equal lamp lumens give equal floor illumination |
| Floodlight replacement | Confirm beam spread, aiming, glare and vertical illumination on racks or walls | Using a narrow high-bay beam where broad floodlight coverage is needed |
- Request the complete luminaire’s flicker or temporal-light-modulation data, driver model, surge rating, warranty terms and rated ambient range. L70 describes LED lumen maintenance, not guaranteed complete-fixture life; heat, surges and driver failure can end operation earlier.
- Commission occupancy sensing and daylight dimming in the actual space. Test detection around racking, cranes, dust, forklift routes and long distances, then set time delays so lights do not shut off during stationary work.
- Confirm emergency egress illumination separately. A normal high bay is not an emergency luminaire; verify the listed emergency unit, power source, test method and life-safety layout.
- Record measured lux at work surfaces, control settings, circuit labels and maintenance instructions. Give Vedant Lights India Pvt. Ltd.|08048034087 those records when requesting replacement or commissioning support.
Related products
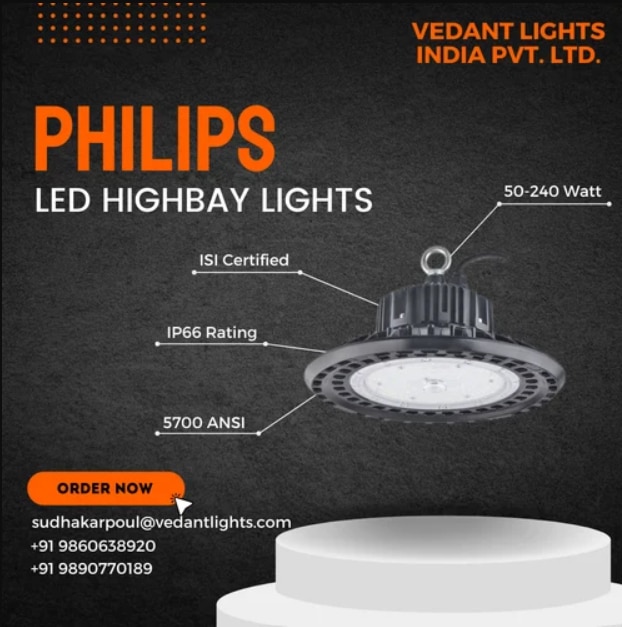 | Led High Bay Light Philips LED High Bay Lights - Illuminate with Efficiency and Versatility Introducing our Philips LED High Bay Lights, a perfect blend of energy... View product → |
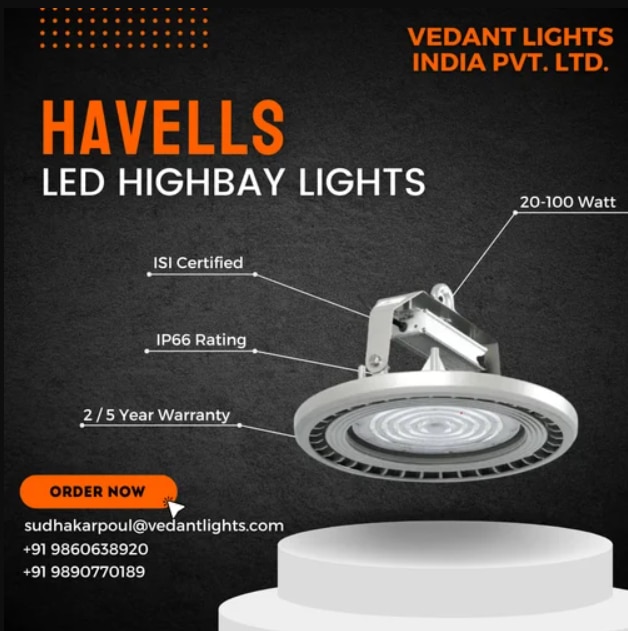 | Led High Bay Light Havells High Bay Light 100 W / 120 W / 150 W Benefits • Better lumens & longer lamp life • High efficacy & lower power consumption • Delivers high brightness & excellent illumination • No... View product → |
Frequently asked questions
Why do mounting height and optics matter more than wattage?
Mounting height determines the distance to the work plane, while beam angle determines how widely light spreads. A higher-wattage fixture can still create poor illumination if its optics do not suit the mounting height and layout.
How should you match beam distribution and light quality to a work zone?
Use narrower distributions for high mounting points or aisle-focused lighting, and wider distributions for open areas. Select colour temperature and colour rendering based on the task, inspection needs and visual environment.
How do you calculate fixture quantity and spacing?
Start with the required maintained illuminance, account for room dimensions, mounting height, reflectance, utilisation and maintenance factors, then verify spacing through a lighting calculation and on-site measurements.
What should you check besides brightness?
Check glare, flicker, colour consistency, driver performance, ingress protection, ambient temperature, dust, moisture and the fixture’s suitability for the installation environment.
Related products
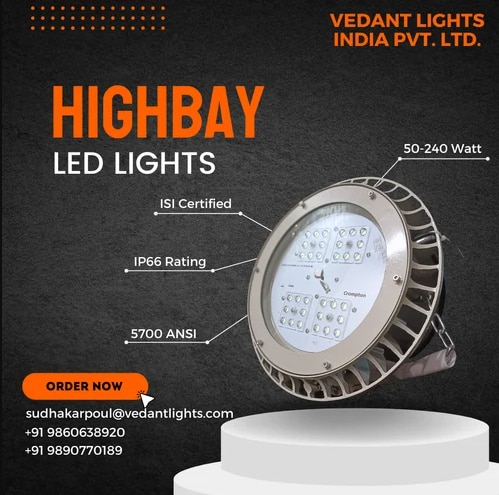 | Led High Bay Light Our Crompton Led High Bay Light is a dependable industrial lighting solution for projects that call for Crompton lighting products. View product → |
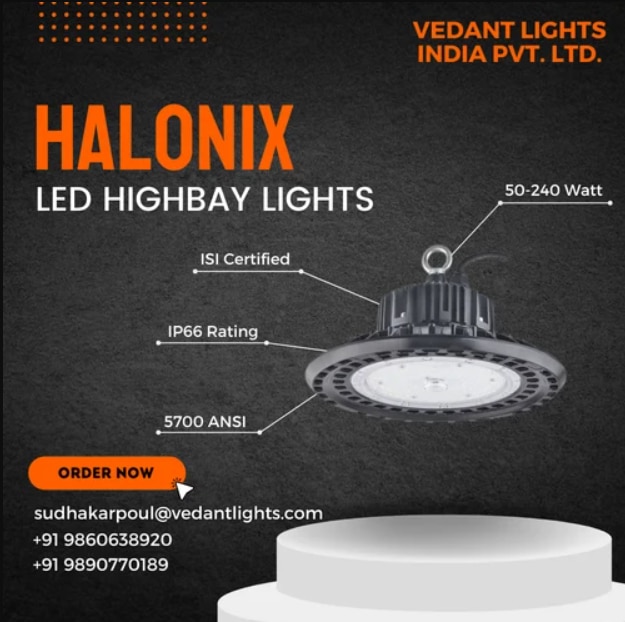 | Led High Bay Light Energy-efficient and durable, Halonix LED High Bay Lights feature an aluminum housing, high-efficiency lens, and LM80 certified LEDs. View product → |
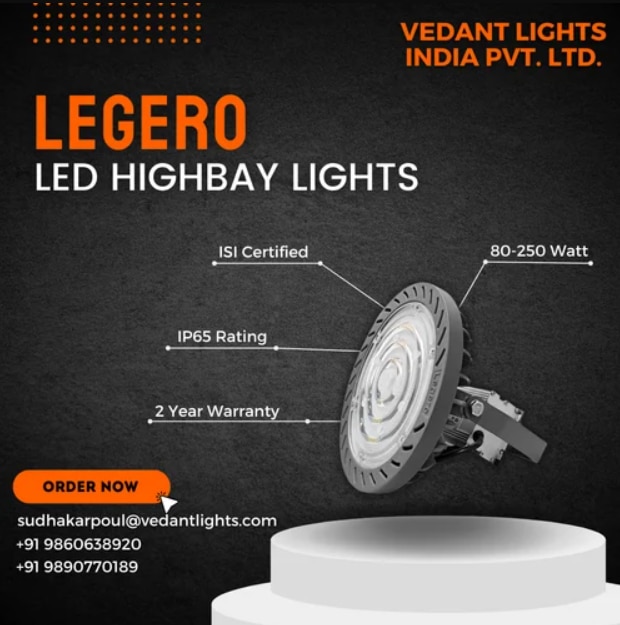 | Led High Bay Light Introducing Legero High Bay Lights, a powerful lighting solution with a nominal wattage of 80W and a versatile operating range from 120-300Vac. View product → |
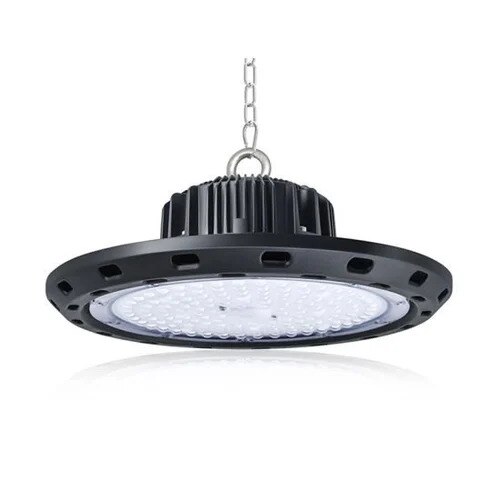 | Led High Bay Light The Bajaj Led High Bay Light from Bajaj is a led high bay light solution for projects that need a well-defined product configuration. View product → |