An energy-efficient lighting project starts with the task being lit, not with a fixture catalogue. You will be able to turn site conditions into measurable lighting targets, compare complete luminaire systems, estimate financial returns, and test whether a supplier can deliver the design safely.
Key takeaways
- Record mounting height, task plane, reflectance and operating hours before requesting quotes.
- Compare beam geometry, photometric files, colour quality and fixture efficacy—not wattage alone.
- Calculate annual energy cost, payback and control savings before approving the purchase.
- Require driver data, control compatibility, site ratings and a measured lighting proposal.
Turn the Site Survey into Lighting Targets and a Layout
Start by turning the site survey into measurable design inputs, not a request for “more light.” Record room or area length, width, clear mounting height, aisle widths, rack height, task plane, surface reflectance, operating hours and existing fixture positions.
Then state the target illuminance in lux, required uniformity, colour requirements and maintenance assumptions for each zone.
- For industrial interiors, identify high-bay height, aisle geometry, beam direction, obstruction locations and the visual task. These determine spacing and dark-spot risk more reliably than fixture lumen output.
- For outdoor areas, record pole height and spacing, mounting tilt, property boundaries, spill-sensitive windows, curfew hours and required controls. Request photometry that addresses uplight, backlight, glare and the applicable BUG rating.
- For hazardous areas, include the zone classification, gas or dust group, temperature class and required certification scheme. An ordinary wet-location fixture is not a substitute.
- Mark emergency fittings and state the required battery, emergency-driver, transfer and egress-lighting operation separately from normal lighting.
- Add supply voltage, circuit limits, surge exposure, wet or corrosive conditions, wind loading and access equipment needed for installation.
Put these requirements into a lighting project brief with a scaled plan showing fixture locations, mounting heights and calculation grids. Specify glare limits A and UGRL for the applicable tasks, then ask for a layout, photometric calculation, fixture schedule, connected load and control sequence.
The supplier can price accurately only when quantity, mounting method, cabling assumptions and commissioning responsibilities are visible.
Choose the Fixture by Geometry, Photometry and Colour Quality
Choose high-bay lighting, a floodlight layout or a street-light layout according to where the visual task sits and how the installed luminaire distributes light—not by lumen output alone. Compare mounting height, aisle geometry, pole spacing, surface reflectance, target illuminance in lux, uniformity and glare.
Request the actual IES photometric file for the exact fixture, lens, driver and operating wattage.
| Layout | Best fit | What to verify after installation |
|---|---|---|
| High-bay lighting | Indoor floors with regular mounting points and defined aisles | Beam spread reaches the task plane; aisle ends do not become dark; average lux and minimum-to-average uniformity meet the brief |
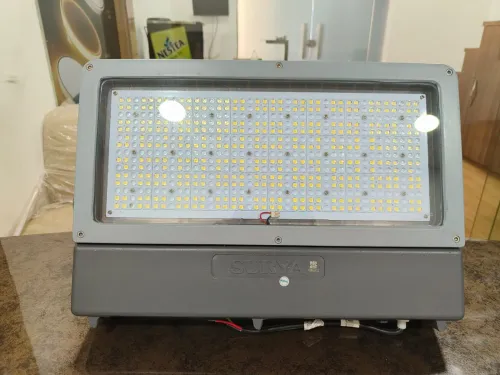
| Floodlight layout | Yards, façades, sports areas and irregular outdoor zones | Aiming avoids hot spots, uplight, backlight and neighbour spill; check tilt, glare and BUG rating |
| Street-light layout | Roads, access lanes and parking routes with repeated poles | Pole spacing, mounting height and distribution produce continuous road coverage without excessive overlap or dark gaps |
Compare delivered luminaire efficacy in lumens per watt, using the same photometric test basis and control setting. A lower-wattage fitting that delivers fewer useful lumens is not more efficient.
Check colour temperature and colour rendering index alongside light quantity. Use a consistent CCT across the site, and choose higher CRI where workers inspect finishes, read labels or distinguish safety colours. For outdoor fittings, confirm wet-location suitability, surge protection and corrosion resistance; an IP rating alone does not prove durability or lighting performance.
Calculate Energy Use, Payback and Control Savings Before Buying
Use connected load to establish the electrical baseline, then calculate annual energy consumption from actual operating hours rather than a full-day assumption. A retrofit saves only the difference between comparable lighting performance, schedules and control settings.
1. Calculate existing connected load as fixture input watts × quantity, including driver losses. Calculate the proposed load the same way, using the luminaire’s tested operating wattage, not the LED package’s advertised efficacy.
2. Calculate annual energy consumption as connected load in kilowatts × annual operating hours. Apply separate hours for shifts, daylight dimming, occupancy sensors and emergency operation; do not count controlled fixtures as running at full power all year.
3. Calculate annual energy cost as consumption in kilowatt-hours × electricity tariff. Compare existing and proposed systems at the same illuminance, uniformity, mounting arrangement and operating schedule. A lower-wattage fixture that delivers less useful light is not a genuine saving.
4. Calculate the LED payback period as total incremental project cost ÷ annual net saving. Include fixtures, controls, installation, commissioning, lift equipment, downtime, disposal, emergency-lighting changes, maintenance access and spare parts; subtract only a confirmed utility incentive.
Control savings require measured schedules and realistic sensor behaviour. Check whether the utility programme requires DesignLights Consortium Qualified Products List status, minimum efficacy, warranty, lumen maintenance or separate networked-control eligibility before claiming an incentive. Use the current rules, not a vendor’s estimate.
A preserved poor layout or failed legacy control system can erase the headline wattage saving.
Match Drivers, Controls and Site Conditions to the Installation
A proposal fails after installation when the driver, wiring, controls or site environment do not match the fixture. Check the supply voltage, circuit loading, emergency circuits and available space for drivers before approving the layout.
Match the driver to the LED load: a constant-current driver suits luminaires with a specified operating current, while a constant-voltage driver suits modules designed for a fixed voltage such as 12 V or 24 V. Require the driver part number and confirm:
- 0–10 V dimming or DALI control compatibility
- Minimum dimming level and standby power
- Inrush current, power factor and total harmonic distortion
- Flicker performance at full output and low dimming levels
Nominally dimmable fixtures can still drop out at low levels, dim unevenly or trip protection devices when many drivers share one circuit. Test occupancy sensing, daylight response, scheduling, high-end trim, emergency operation, sensor coverage and building-management-system integration in the occupied space.
For outdoor installations, verify wet-location suitability, IP rating, corrosion resistance, impact resistance, UV exposure, wind loading, surge protection and the condition of earthing and distribution equipment. An IP65 marking does not prove resistance to coastal salt, chemical vapour or vibration.
Request LM-79 results for luminaire photometry, LM-80 data for the LED package or module, and TM-21 projections showing test duration, extrapolation limits and thermal conditions. Check the utility’s current rebate rules separately; LED status alone does not establish eligibility.
Make the LED Lighting Company Prove Its Proposal
Do not award on fixture price or an “up to” savings claim. Require a bid pack tied to the exact product family, wattage, optics, driver and controls, including an actual IES file and LDT file—not data from a similar model.
For hazardous areas, the pack must state the classified-area designation, gas or dust group, temperature class and certification scheme.
1. Request LM-79 reports for electrical and photometric performance, plus LM-80 data for the LED package or module and a TM-21 lumen-maintenance projection. Check the test duration, extrapolation limits and luminaire thermal conditions; LM-80 alone does not prove complete luminaire life.
2. Require a signed schedule of warranty duration, covered failures, lumen-maintenance threshold, labour and replacement arrangements, exclusions, response time and available spare drivers or modules.
3. Make the supplier identify installation labour, lift equipment, disposal, downtime, emergency-lighting changes and control integration. Document battery operation, transfer behaviour, egress illumination and required testing with the electrical contractor and authority having jurisdiction.
4. Put commissioning in the contract: aim the fittings, program controls, measure lux and uniformity at agreed points, verify emergency operation, record operating settings and submit an as-built layout with serial numbers.
Ask Vedant Lights India Pvt. Ltd. to identify the exact model behind every quoted high-bay, street-light or floodlight and attach those records. Check DesignLights Consortium listing and the governing utility’s current rebate rules before purchase; LED status alone does not guarantee eligibility.
Related products
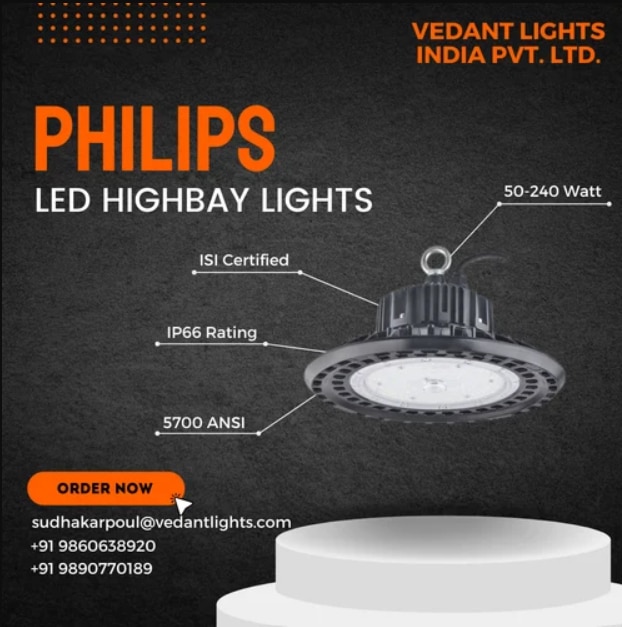 | Led High Bay Light Philips LED High Bay Lights - Illuminate with Efficiency and Versatility Introducing our Philips LED High Bay Lights, a perfect blend of energy... View product → |
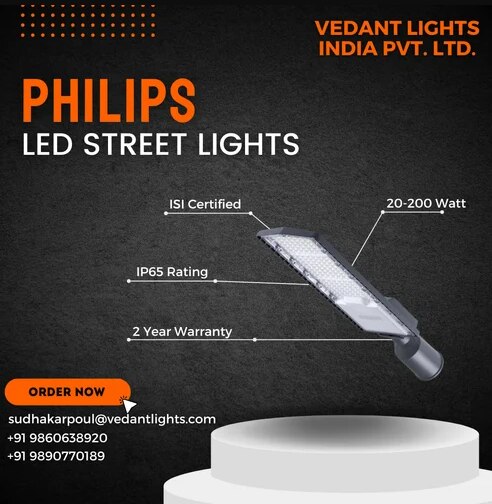 | LED Street Lights Our Philips Led Street Light is a dependable street lighting solution for projects that call for Philips lighting products. View product → |
Frequently asked questions
What site information does an LED lighting design need?
Record the area length and width, clear mounting height, aisle widths, rack height, task plane, surface reflectance, operating hours and existing fixture positions.
How should you compare LED fixtures for a project?
Compare fixture geometry, photometric distribution, mounting position, colour quality and delivered illumination for the actual space rather than comparing wattage alone.
How do you calculate LED lighting payback?
Estimate annual kilowatt-hours from fixture load and operating hours, price the electricity, add control savings, and compare the annual saving with project cost.
What must you check about LED drivers and controls?
Check driver output, dimming method, control compatibility, surge protection, ingress protection, ambient-temperature rating and access for replacement.
What should an LED lighting company include in its proposal?
Ask for the layout, lighting targets, fixture schedule, photometric files, energy calculation, control assumptions, driver details, site-condition ratings and installation scope.
Related products
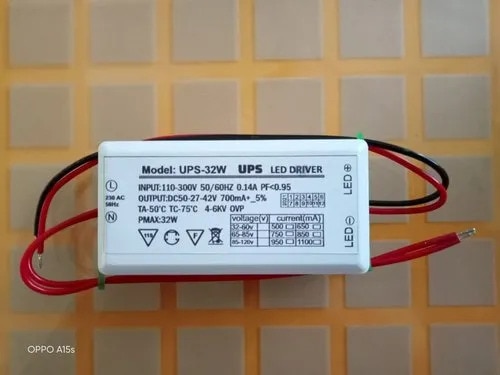 | LED Driver The LED Driver is a led driver solution for projects that need a well-defined product configuration. Model: LED Power Supply. View product → |
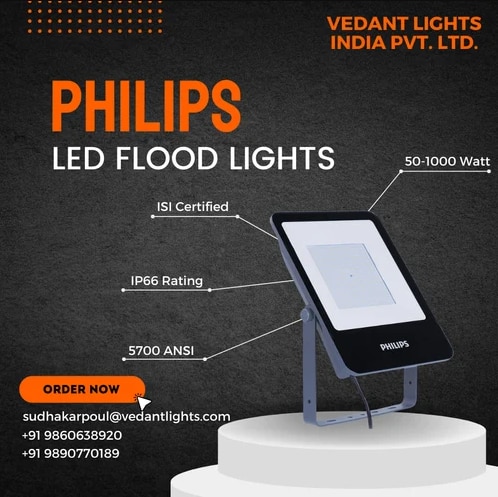 | LED Flood Lights Philips Flood Lights - Brilliant Illumination for Every Space Introducing Philips Flood Lights, the epitome of energy-efficient and reliable outdoor... View product → |
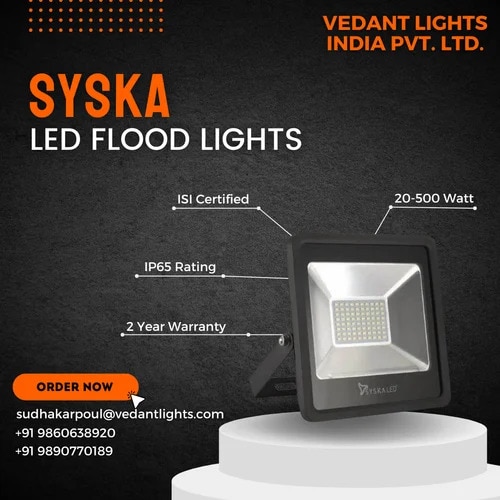 | LED Flood Lights The Syska LED Flood Lights from Syska is a led flood lights solution for projects that need a well-defined product configuration. View product → |
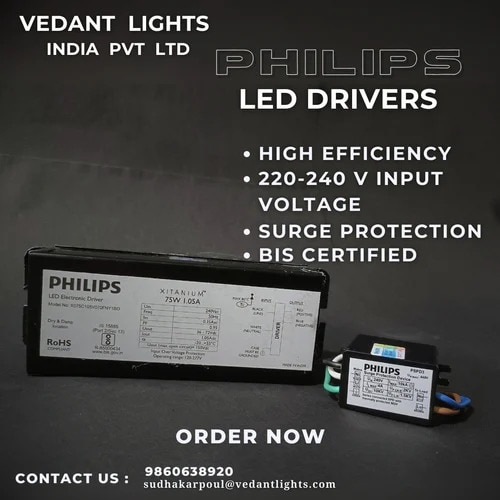 | LED Driver The Philips Led Driver from Philips is a led driver solution for projects that need a well-defined product configuration. View product → |